How to Access Your Coolify WordPress Files via FTP
In this tutorial, I’ll guide you through accessing your Coolify WordPress website files via FTP. For this example, we’ll use Hetzner as our hosting provider. To get started, you’ll need two things: an SSH key for secure access and an FTP client. I recommend using WinSCP for its ease of use, but FileZilla is also an option, though it’s not ideal.
If you’ve already set up a Coolify VPS, you’re all set to follow along! If not, you can watch my full setup guide here to get started.
1) SSH Key
To connect via SFTP, make sure you have your SSH key ready. Typically, your keys are stored in the following location:
Windows: C:\Users\range\.ssh
Mac: /Users/macOSUsername/.ssh/
Linux: /home/username/.ssh
* Default names are usually stored as id_rsa and id_rsa.pub
If you have your SSH Key ready you can move to “Step 2 Convert SSH Key to PPK” below.
I’ve lost my key! ☹️🔑
If you’ve lost your SSH key, I have some mixed news. The downside is that SSH keys can only be added when initially setting up your server. However, the good news is that you can easily create a new server from a snapshot and apply a new SSH key during setup!
One potential issue is that your server’s IP address may change if you don’t have a static IP. When creating a new server, you’ll receive a new IP address, which means you’ll need to update your domain name records accordingly.
Create a Snapshot
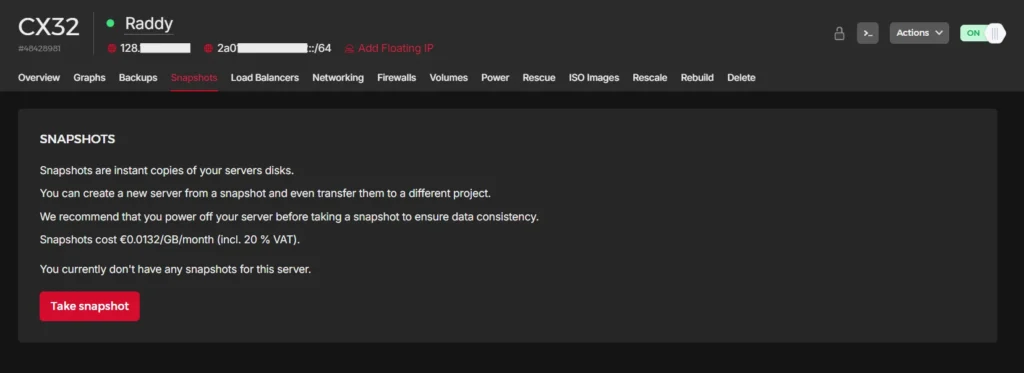
Create a New SSH Key
In the left-side menu, go to the Security tab to locate your SSH Keys. To create a new key, use the ssh-keygen tool.
Open your Terminal or Command Prompt, then run the following command:
ssh-keygen
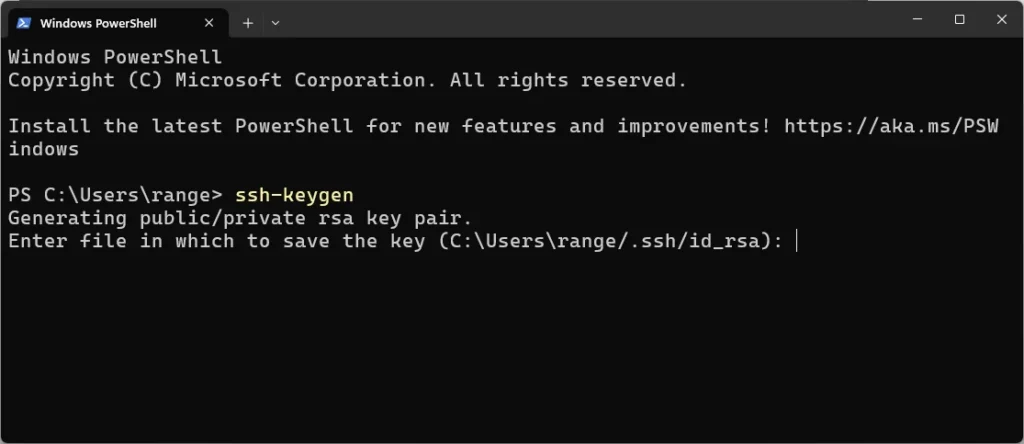
Follow the prompt instructions. You could even keep pressing Enter to finish the setup. Your newly created key should be located under:
Windows: C:\Users\range\.ssh
Mac: /Users/macOSUsername/.ssh/
Linux: /home/username/.ssh
* Default names are usually stored as id_rsa and id_rsa.pub
Great! Lets move on to the next step.
2) Convert an SSH key to PPK using PuTTY
There are two easy ways to do this, using WinSCP directly and using PuTTY. I don’t own a Mac, but you could try this PuTTY SSH client.
Using WinSCP, you can easily set up a new site connection by selecting Edit > Advanced > SSH > Authentication. From there, choose your id_rsa file as the private key. WinSCP will prompt you to convert the OpenSSH private key to PuTTY format for compatibility.
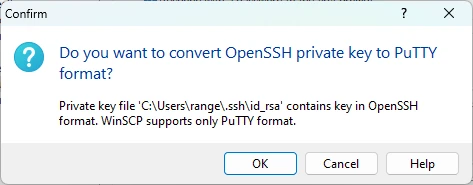
(A PPK file is a file format that stores a private key and its corresponding public key.)
PuTTY
After installing PuTTY, you’ll also have access to the PuTTY Key Generator tool, which is essential for managing SSH keys. To get started, open PuTTY Key Generator and click Load to import an existing key file.
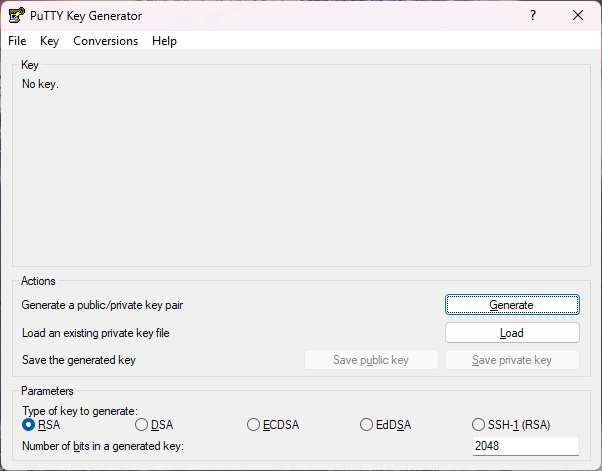
Next, locate and select your id_rsa file. This file typically contains your private SSH key, which PuTTY Key Generator will use to generate the compatible format for PuTTY.
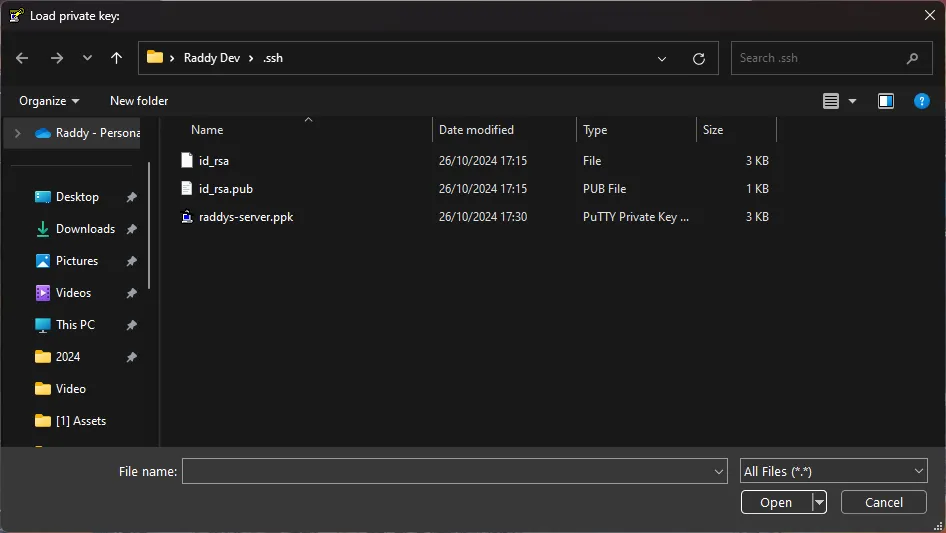
If the import is successful, you’ll see a confirmation message saying, ‘Successfully imported foreign key…’. This indicates that your key has been properly loaded and is ready for further configuration.
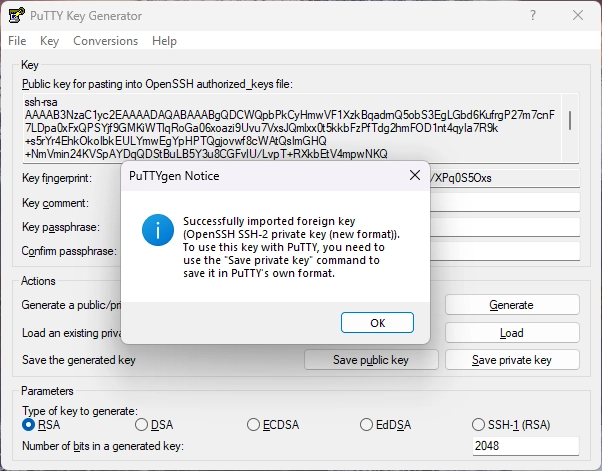
Click OK to close the confirmation message, then select Save Private Key. Choose a memorable name for your key file and save it in a secure location for easy access during authentication.
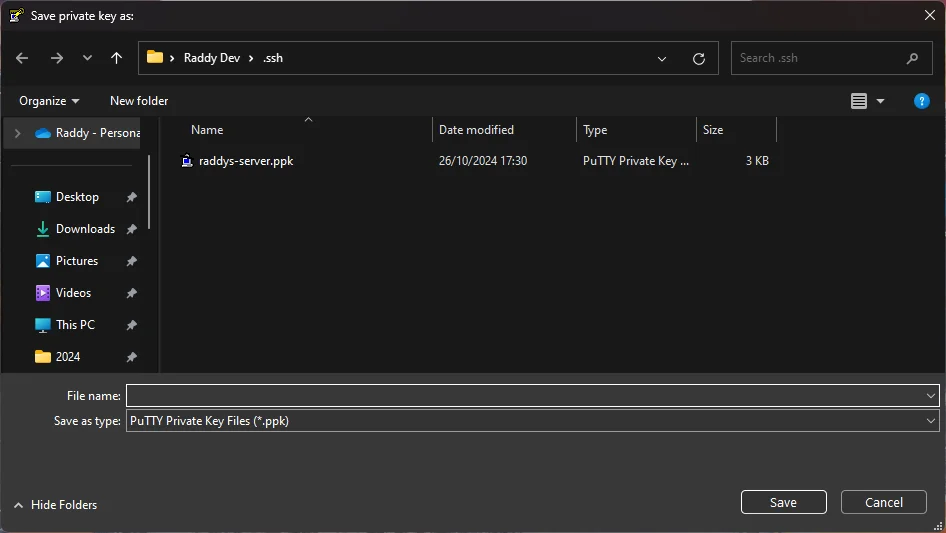
And that’s it! You can now use your .ppk file with any compatible FTP client to securely access your server. Simply select this key file in your client’s settings, and you’re ready to connect.
How to find your WordPress Directory in Coolify Server
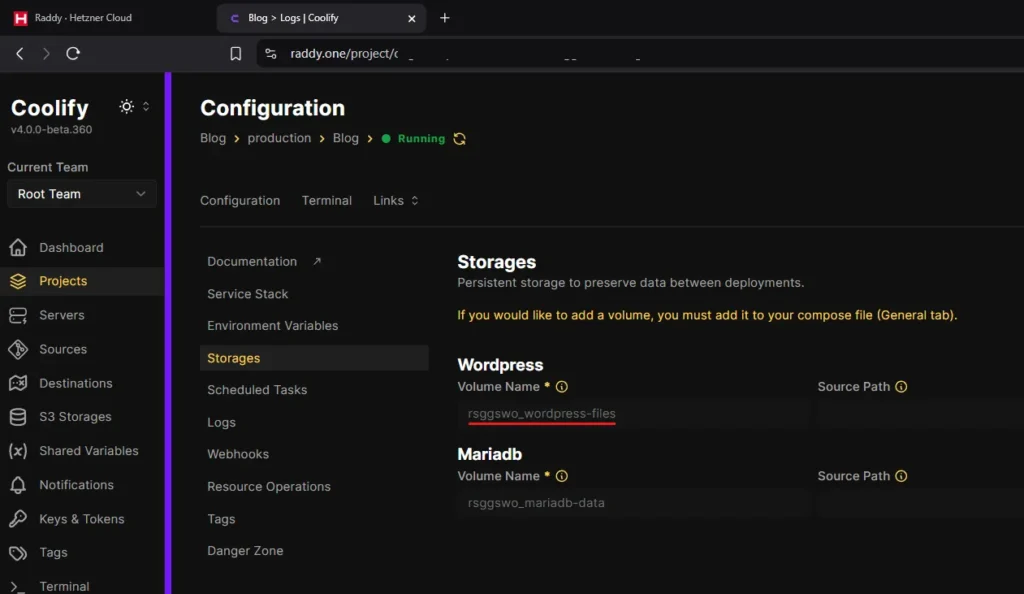
All Docker containers in Coolify are stored in the directory: /var/lib/docker/volumes. If you have a single WordPress site, locating it here is straightforward. For multiple WordPress sites, log in to Coolify, select the specific WordPress site you need, and navigate to Storages. This will display the Volume name associated with that website, making it easy to identify.
Accessing from the Terminal:

Access Coolify WordPress Website via FTP / SFTP
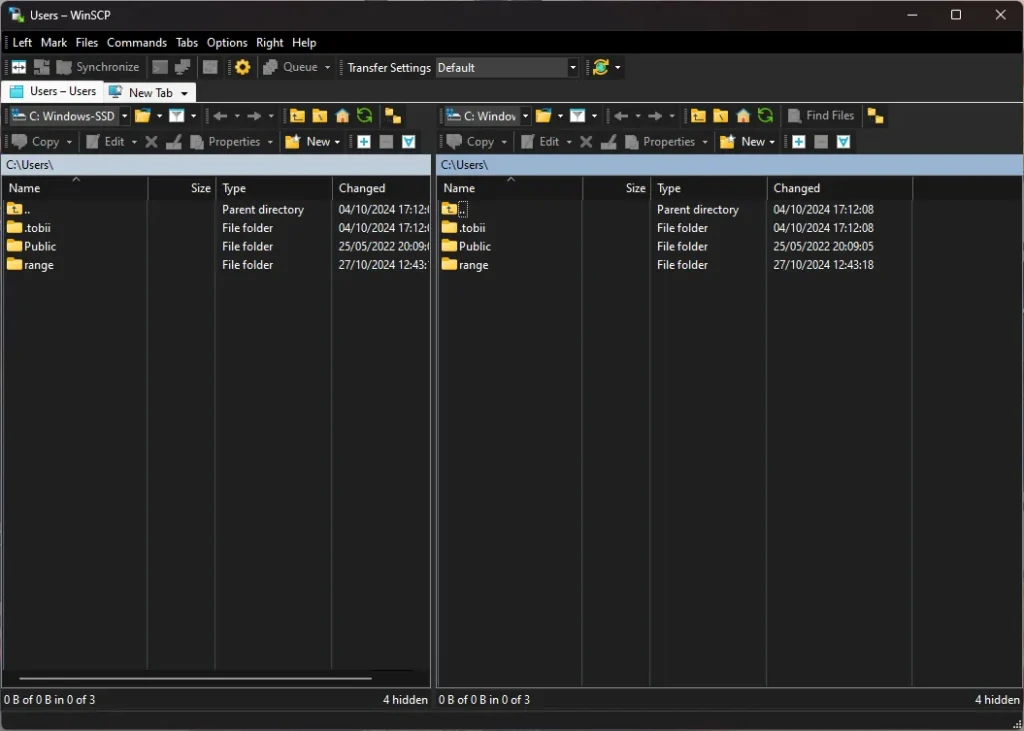
In this example, I’ll be using WinSCP for file transfers, though you can also use the spyware FileZilla if preferred. Open WinSCP and click on the New Session button to start setting up your connection.
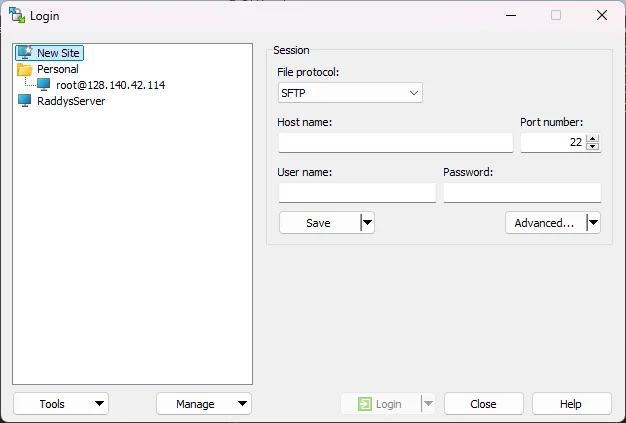
Click on New Site and enter the following connection settings:
- File Protocol: SFTP
- Host Name: Your Server IP
- Port: 22
- User Name: root
These settings will establish a secure connection to your server.
Next, click on the Advanced button, then navigate to SSH -> Authentication. Under Private key file, click Browse and load your .ppk file. This will enable secure authentication using your private key.
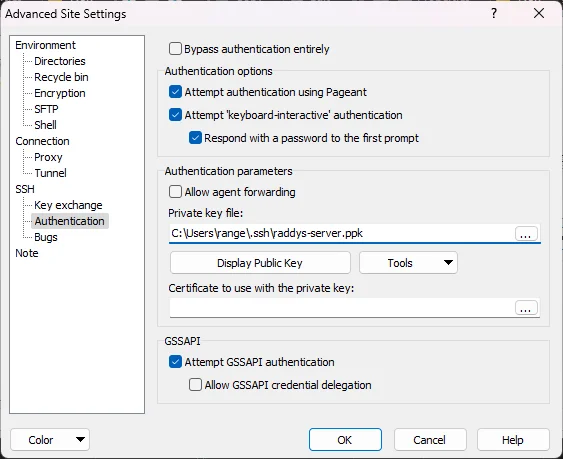
Press OK to save your settings, then click Save to store your session. You should now be able to click Login to connect to your server.
Your WordPress website files will be located at: /var/lib/docker/volumes. If you have multiple WordPress sites and are unsure which is which, you can go to your Coolify Dashboard, select the desired website, and click on Storages. There, you will be able to see the corresponding website name.
And that’s it! You’re all set to manage your WordPress sites.
Hey! If you found this guide helpful and you have a YouTube account, I regularly post useful videos and articles like this one. I’d appreciate it if you considered subscribing to my channel for more content!
YouTube Channel: RaddyDev
Support This Work
If you found this guide helpful, consider supporting me with a small donation. Your contribution helps me keep these tutorials up to date and create more quality content.

Scan to donate


Thank you for this article man, I could not find any information online about this before you I found this article. Now I can actually use Coolify for wordpress sites, big thanks!
Hey, thanks for the comment! I am glad to hear that you found the article/video useful 🙂
coolify team should pay you! u r doing kind works
😊
but you cant access wordpress rooter, its all coolify files right! you cant access wp content, plugin etc
You can access everything
Thanks a lot for the article! It was really helpful